How To Fill Your Spa
 The step-by-step guide to fill your spa.
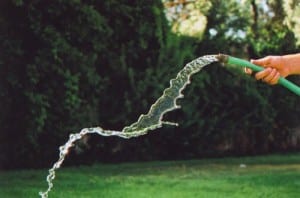
- Attach pre-filter to garden hose and place in filter housing (remove filter and basket first) to fill. Fill to the bottom of the headrests (or approximately 6”/15cm above the base of the floating weir).
- Once the spa is filled, turn on power by turning on the GFCI breaker in your panel. Watch the display on the topside control. After power-up, the display will blink until a key is pressed. This feature is to let you know that there was a power outage.
- The jet pump, heating system and all internal plumbing will achieve a partial prime as the spa is filled. To check the operation of the jet system and to remove any remaining air from the plumbing system, follow these steps: a) All Models: Push the Pump 1 button twice to turn the pump to high speed. Allow to run for 1 minute. b) Signature, Ultra, and Legend Series: Push Pump 2 button also. This pump runs at high speed only. Run for one minute. c) Legend Series only: Push Pump 3 also. This pump runs at high speed only. Run for one minute. Once the jet system is fully operational (as indicated by strong, non-surging jets), priming of the spa is complete. Push each pump button once to turn the pumps off. IMPORTANT: Weak or surging jets are an indication of a low water level or a clogged filter cartridge.
- Adjust the chemicals and balance the water according to your dealer’s instructions.
- Set the temperature control to the desired temperature (between 100ºF and 104ºF or 38ºC and 40ºC) then place the insulated cover on the spa and allow the water temperature to stabilize for about 16 hours. Make sure you secure the cover in place using the cover locks. Periodically check the spa water to monitor water temperature.
